> ## Documentation Index
> Fetch the complete documentation index at: https://docs.uplifthub.io/llms.txt
> Use this file to discover all available pages before exploring further.
# Adding a new account
> Add an advertiser to Uplift Hub — the top of the hierarchy.
export const Ui = ({children}) =>
{children}
;
An **Account** is the buying company of a campaign — usually the advertiser.
It sits at the top of the Uplift Hub hierarchy; every campaign and line item
belongs to one.
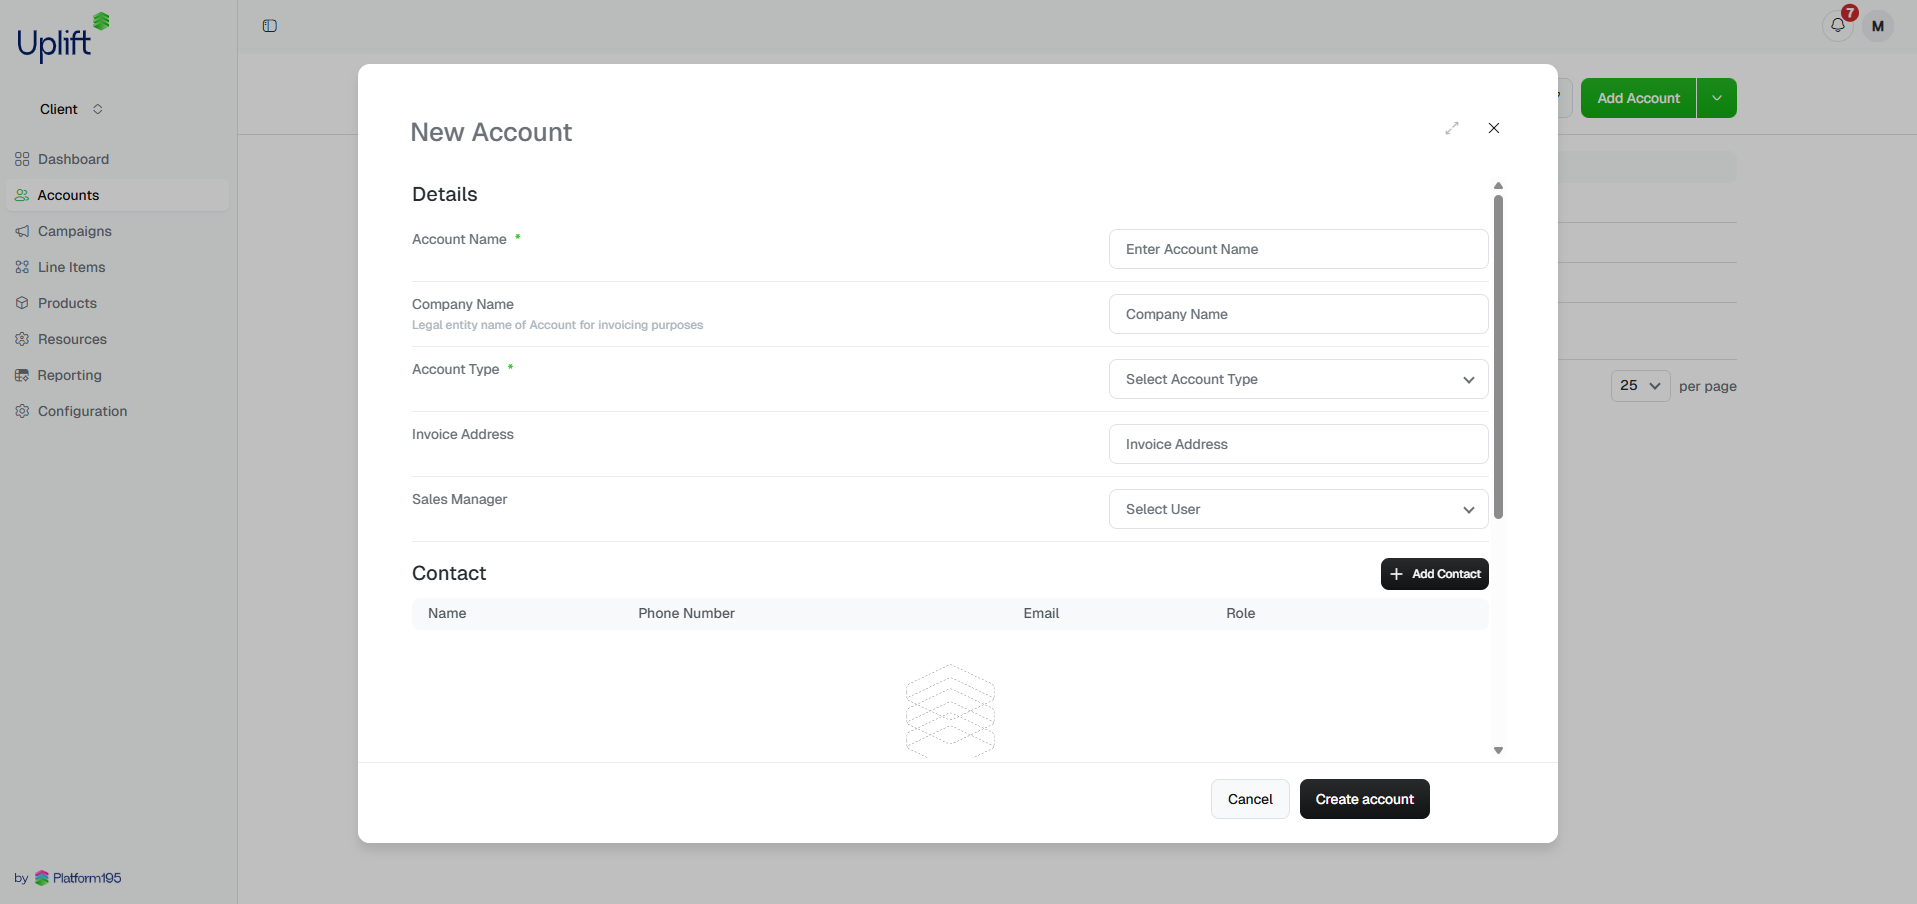
Select Accounts from the left sidebar.
Click Add new account in the top right.
Complete the account details. Required fields are marked with a red
asterisk **\***. Click Create account to save.
 ***
## Account name
Include any relevant identifiers from your internal systems in the account name for
easy cross-reference. For example: `Sandals Resorts (SF-00123)`.
***
## Product IDs
The **Product IDs** field stores the unique identifiers your organisation uses to
reference a property or supplier in your own systems. For a tour operator, this
might be a **Giata Code**, a hotel chain's internal property ID, or a reference
from your booking or CRM platform. Multiple IDs can be added to a single account.
Product IDs are visible across campaigns and line items linked to the account,
making it easier to reconcile records between Uplift Hub and your other tools.
***
## After creating an account
Once saved, the account is immediately available to assign campaigns to. Head
to Campaigns in the sidebar and click Add campaign to
continue setup.
See [Creating a campaign](/setup/create-campaign) for next steps.
***
## Account name
Include any relevant identifiers from your internal systems in the account name for
easy cross-reference. For example: `Sandals Resorts (SF-00123)`.
***
## Product IDs
The **Product IDs** field stores the unique identifiers your organisation uses to
reference a property or supplier in your own systems. For a tour operator, this
might be a **Giata Code**, a hotel chain's internal property ID, or a reference
from your booking or CRM platform. Multiple IDs can be added to a single account.
Product IDs are visible across campaigns and line items linked to the account,
making it easier to reconcile records between Uplift Hub and your other tools.
***
## After creating an account
Once saved, the account is immediately available to assign campaigns to. Head
to Campaigns in the sidebar and click Add campaign to
continue setup.
See [Creating a campaign](/setup/create-campaign) for next steps.