> ## Documentation Index
> Fetch the complete documentation index at: https://docs.uplifthub.io/llms.txt
> Use this file to discover all available pages before exploring further.
# Manage channels
> Add, rename and delete the channels your products are sold or delivered through.
export const Ui = ({children}) =>
{children}
;
**Channels** group your products by how they're sold or delivered — for example
`On-Site`, `In-App`, `Email` or `Social`. The channel appears on a line item's
product details, so you can filter and report on performance by channel.
The **Channels** list works the same way as [Platforms](/client-configuration/platforms):
each channel has a name and an automatically assigned **ID**.
***
## Add a channel
Select Configuration in the sidebar, then click the
Channels tile.
Click Add Channel in the top right.
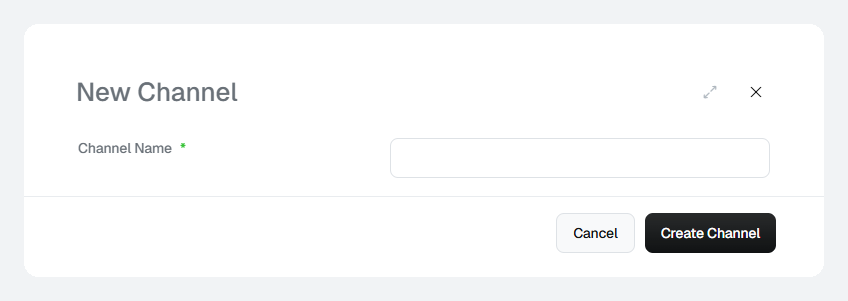
Enter a **Channel Name**, then click Create Channel.
 ***
## Rename or delete a channel
* **Rename** — click the channel's name, update it and save.
* **Delete** — click the **⋮** menu at the end of the row and select Delete.
If the list is empty, no channels have been set up for your client yet. Add
the channels your team reports on before you set up products.
This documentation is built and hosted on [Mintlify](https://mintlify.com), a developer documentation platform.
***
## Rename or delete a channel
* **Rename** — click the channel's name, update it and save.
* **Delete** — click the **⋮** menu at the end of the row and select Delete.
If the list is empty, no channels have been set up for your client yet. Add
the channels your team reports on before you set up products.
This documentation is built and hosted on [Mintlify](https://mintlify.com), a developer documentation platform.